Angular – HTTP GET, PUT, POST and DELETE Request Examples

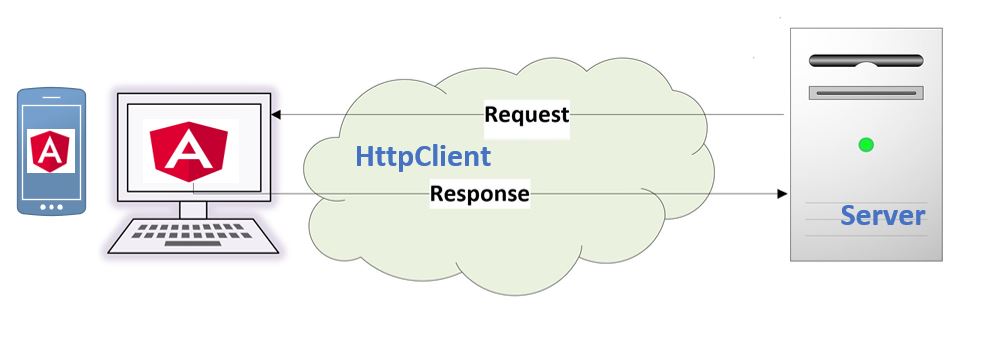
In this article, we shall see how to write simple Angular – HTTP GET, PUT, POST, and DELETE requests with easy-to-understand examples.
Below are the high level steps which can be performed to be able to use HTTP services in Angular application,
- Create a LoginComponent
- Add Service ex. EmployeeService to LoginComponent
- Add HttpClient service to EmployeeService
- Adding GET, POST Delete
Before we get started I am assuming you already have a basic understanding of Angular applications.
If not, kindly go through a series of articles on Angular Design and Architecture, Form Validation and Data Binding, etc.
Getting Started
Just to revise on Inversion of Control i.e Dependency Injection in Angular can be achieved by injecting the Services using constructor injection as below,
Please see here for more details on this concept,
Example of DI

Lets create your new Angular Application
Add LoginComponent
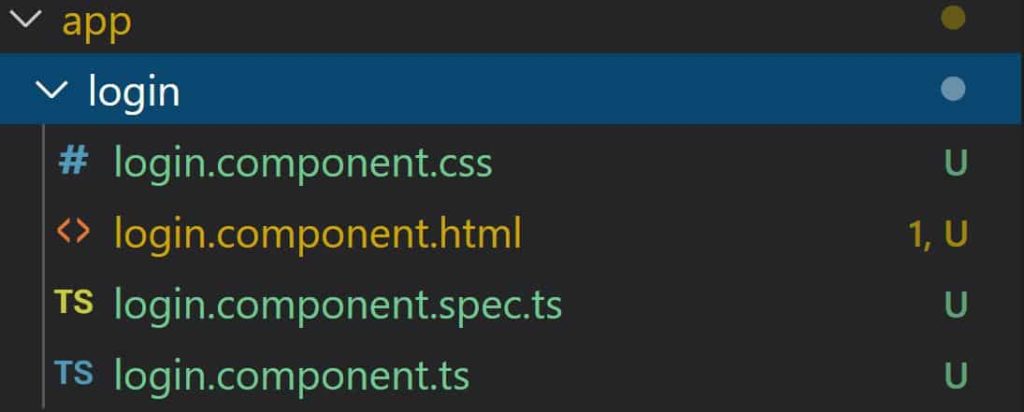
Let’s add new LoginComponent using below commands
ng generate component login

We have currently no logic added and once we execute the application , all it shows is ,

Add AccountService to LoginComponent
Please use below command to add new AccountService,
ng generate service Account
File:account.service.ts
import { Injectable } from '@angular/core';

@Injectable({
  providedIn: 'root'
})
export class AccountService{

  constructor() { }

}
As we have above created AccountService with the provider as ‘root’ then such instances become single and shared instances for the one app instances.
This same singleton shared instance will be called everywhere as and when the instance is needed to be used. Please see this article if you want to create services per Component basis.
Add HttpClient to Service
Make HttpClient available in the app in two steps as explained below,
Step1 : Register HttpClientModule in root Module as below,
import { BrowserModule } from '@angular/platform-browser';
import { NgModule } from '@angular/core';
import { AppRoutingModule } from './app-routing.module';
import { AppComponent } from './app.component';
import { LoginComponent } from './login/login.component';
import { LoggerService } from './logger.service';
import { AccountService } from './account.service';
import { HttpClientModule } from '@angular/common/http';

@NgModule({
  declarations: [
    AppComponent,
    LoginComponent
  ],
  imports: [
    BrowserModule,
    AppRoutingModule,
    HttpClientModule
  ],
  providers: [LoggerService,AccountService],
  bootstrap: [AppComponent]
})
export class AppModule { }
Step2: DI HttpClient using Constructor Injection
To use HttpClient, you need to import below,
import { HttpClient, HttpHeaders } from '@angular/common/http';
Add HttpClient to EmployeeService using Constructor injections as below,

Here below is the complete code,
File:account.service.ts
import { Injectable } from '@angular/core';
import { HttpClient, HttpHeaders } from '@angular/common/http';
import { Observable, of } from 'rxjs';
import { catchError, map, tap } from 'rxjs/operators';
import { Employee } from './employee';

@Injectable({
  providedIn: 'root'
})
export class AccountService {

  private apiUrl = '/api/values';


  constructor(private http: HttpClient) { }
}
So far so good . Now we are all set to write our basic HTTP REST calls.
GET – Add HttpClient to invoke Http REST calls
File: account.service.ts
  getEmployees():  Observable<Employee> {
    return this.http.get<Employee>(this.apiUrl)
      .pipe(
        tap(_ => this.log('fetched getEmployees')),
        catchError(this.handleError<Employee>('getEmployees'))
      );
  }
Connecting API/Service endpoint
You can now ready to connect to any REST API endpoint.
I already have below API endpoint which we shall be returning as Employee model (which we have defined as Observable above in getEmployees())
I am using ASP.NET Core API below. However as we know REST API is language agnostic, you can use Spring, Java, nods.js or Python-based services, etc.
Lets use the below Url for now to connect to REST API,
    [Route("api/[controller]")]
    [ApiController]
    public class ValuesController : ControllerBase
    {
        [HttpGet]
        public ActionResult<Employee> Get()
        {
            return new Employee { Id = "123123", Name = "TheCodeBuzz" };
        }
    }
CORS on Server-side
Please note your Server should allow CORS requests from your Angular UI domain. Please visit for more details: How to Enable CORS in ASP.NET Core REST API
Once the CORS is enabled on your server-side, you shall see the GET method hits your API and gives your required response.

Here is the html defined for LoginComponent ,
File: login.component.html
<h1>Hello TheCoeBuzz !! </h1>
<h2>Employee ID - {{emp.id}}</h2>
<h2>Employee Name - {{emp.name}}</h2>
Finally , you could see the result on the browser,

POST- Add HttpClient to invoke Http REST calls
Please see below for more details on POST and other HTTP REST operations.
I shall be covering more in-depth on Angular services best practices in my next article.
Kindly stay tuned!!
Do you have any comments or ideas or any better suggestions to share?
Please sound off your comments below.
Happy Coding !!
Summary
Today in this article we learned how to write simple Angular – HTTP GET, PUT, POST, and DELETE Request with easy to understand examples.
Please bookmark this page and share it with your friends. Please Subscribe to the blog to receive notifications on freshly published(2024) best practices and guidelines for software design and development.